
The Installation of PVC Sheet Pile
The installation of PVC sheet piles typically involves the following steps:
1.Site Preparation: Clear the site of any obstructions and ensure a level surface for installation. Excavate the soil to the required depth for the sheet piles.
2.Sheet Pile Driving: Position the first PVC sheet pile at the designated starting point. Use a pile driver or a suitable driving equipment to drive the sheet pile into the ground. The driving can be done by vibrating, pressing, or hammering the sheet pile until it reaches the desired depth.
3.Interlocking: Once the first sheet pile is in place, align the subsequent sheet piles with the interlocking mechanisms. The interlocks are designed to create a secure and watertight connection between the sheet piles.
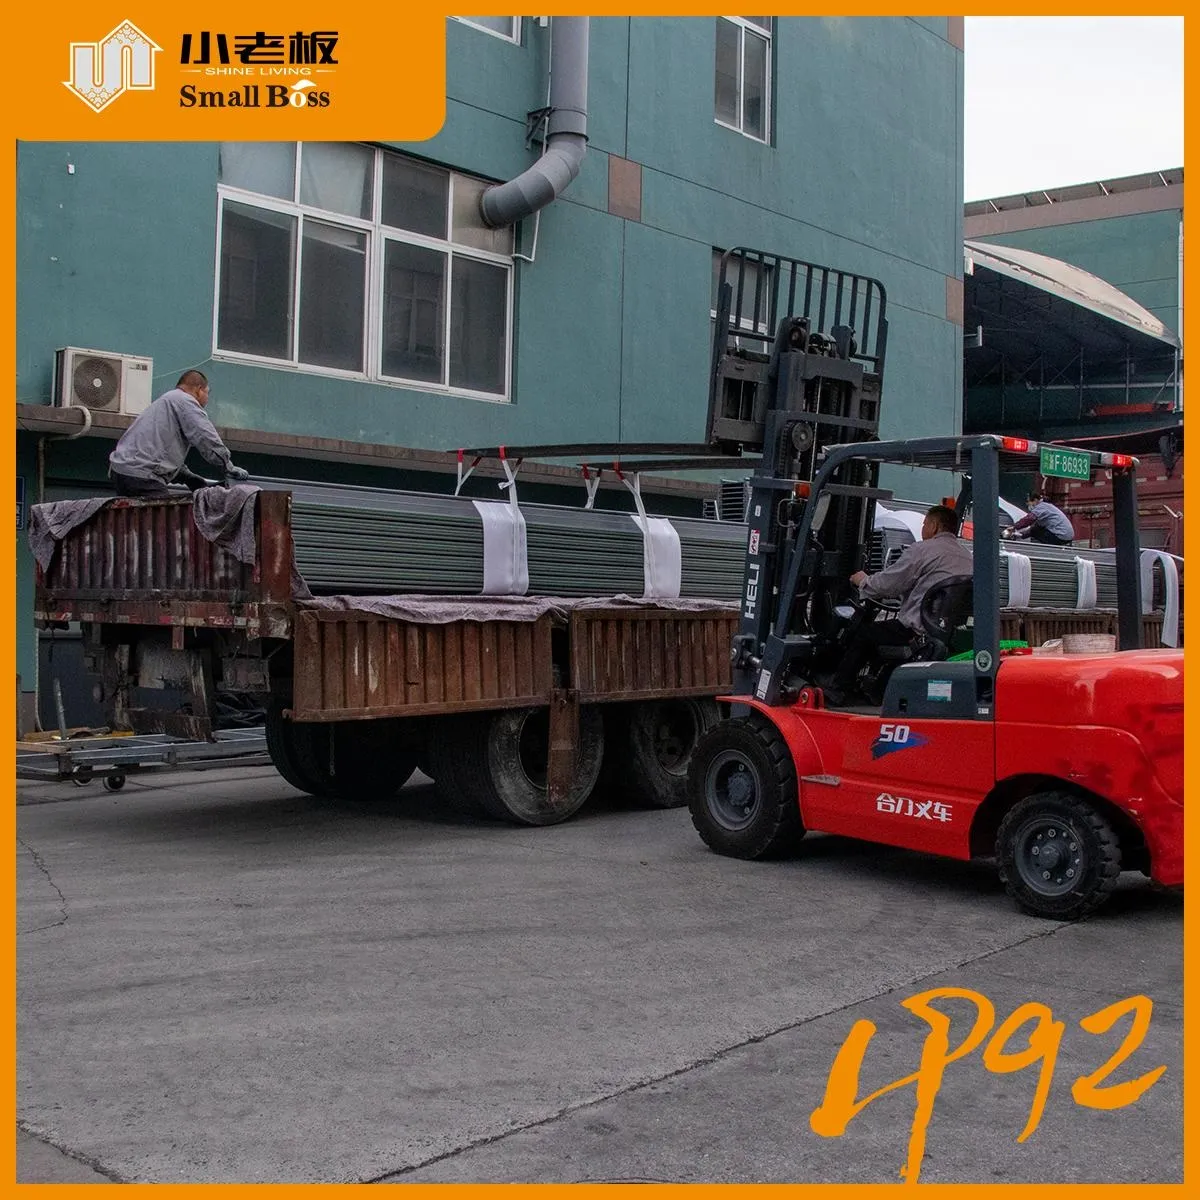
4.Driving and Alignment: Continue driving the PVC sheet piles one by one, ensuring proper alignment and interlocking between each pile. Use a spirit level or laser level to maintain verticality and alignment along the installation length.
5.Cutting and Trimming: If necessary, cut or trim the sheet piles to the required length using appropriate cutting tools. Ensure that the cut edges are clean and free from any deformities.
6.Anchoring: Depending on the project requirements and soil conditions, provide appropriate anchoring or bracing to stabilize the sheet pile wall if needed. This can involve installing anchor rods, tiebacks, or braces to provide additional support and prevent lateral movement.
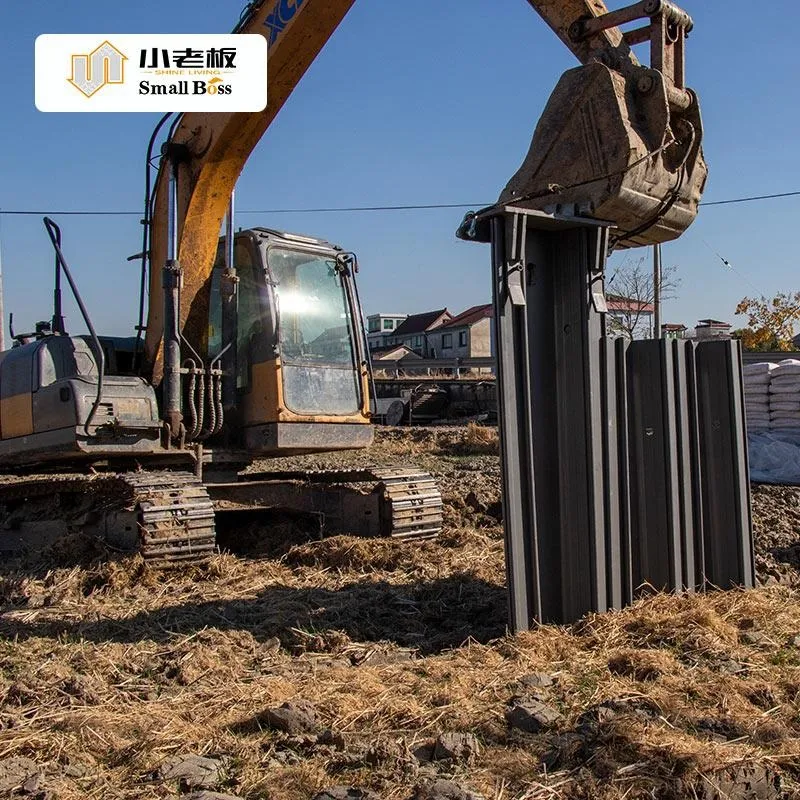
7.Backfilling: After the sheet piles are installed, backfill the area behind the sheet pile wall with suitable materials, such as compacted soil or granular fill, to provide additional support and stability. It's important to note that the specific installation methods may vary depending on the project specifications, soil conditions, and equipment available. It is recommended to consult with a qualified engineer or contractor experienced in installing PVC sheet piles for detailed guidance and to ensure proper installation procedures are followed.


