
Steps For Using Plaster Corner Beads:
1.Measure and cut the plaster corner beads to the desired length, allowing a few extra inches on each end.
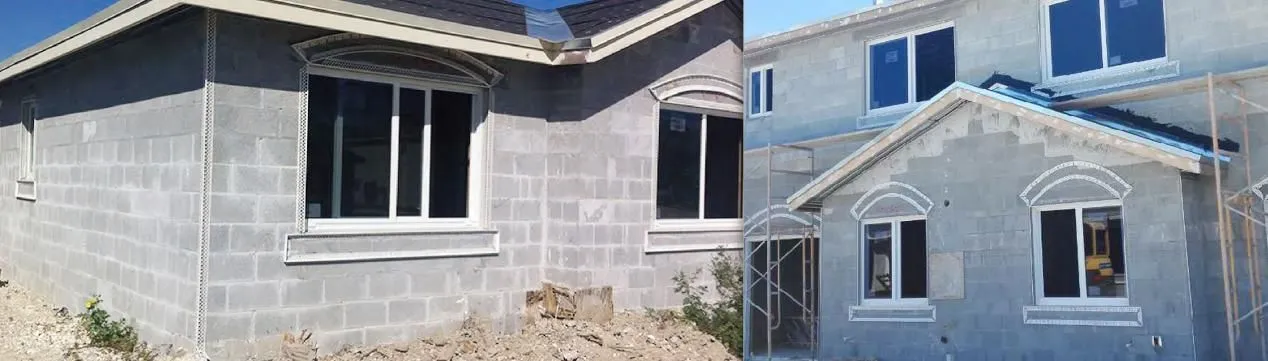
2.Apply a generous amount of joint compound or adhesive to the corner where the bead will be installed.
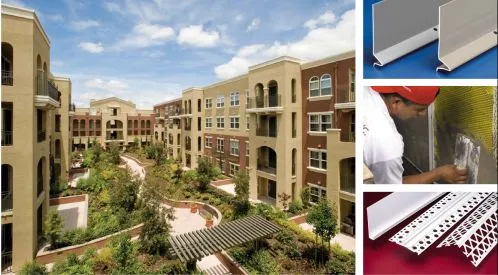
3.Carefully press the corner bead into the wet joint compound, ensuring it is straight and flush with the wall surface.
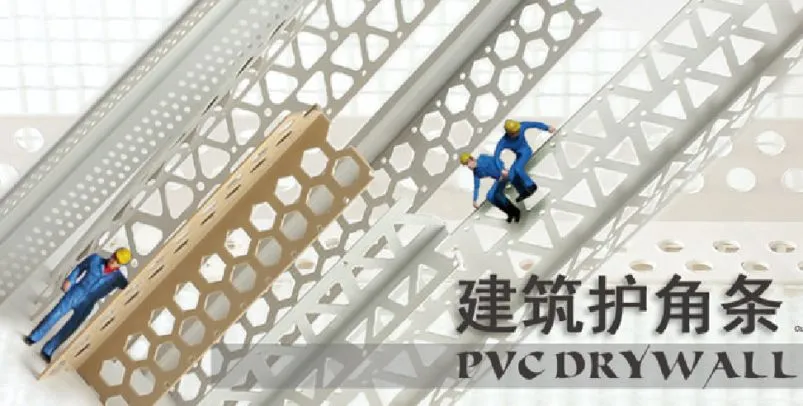
4.Use a putty knife or drywall knife to smooth the joint compound around the edges of the bead, feathering it out to create a seamless transition.
5.Allow the joint compound to fully dry according to the manufacturer's instructions, typically 24-48 hours.
6.Once dry, apply a second coat of joint compound over the bead, extending it beyond the edges to blend with the surrounding wall surface.
7.Sand the area lightly once the second coat is dry to create a smooth, even finish.
8.Apply primer and paint the corner as desired to match the wall.
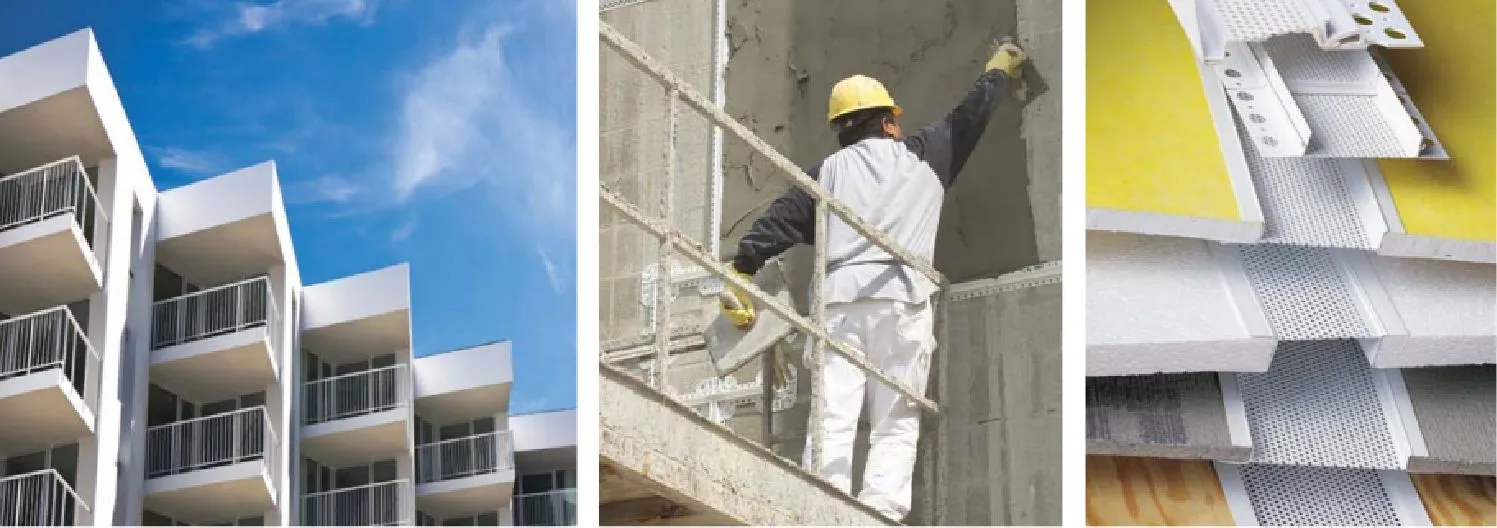
The key is ensuring the corner bead is properly secured and the joint compound is 9.smoothly blended to create an invisible transition between the bead and the wall surface.


