Installation guide -Small Boss
1.Research Local Rules and Regulations
Be sure to research any local permits, special codes or regulations that you may need to follow or apply for. This is a crucial step for any commercial or residential project. This ensures that you’ll be able to complete your project successfully without interfering with the environment in and out of the water. Whether or not you need permits or have regulations to follow varies based on location. Some require USACOE (army corp) permits, some Department of National Resources (DNR), some just local permitting. Each state, county or even lake can be different. A good start is the Wikipedia page on Environmental Agencies by State, but let us know if you need any help!
2. Measure Twice, Drive Once
Before you get started, you’ll need to know the quantity and types of seawall materials you’ll need. Seawalls can vary greatly in cost depending on what materials are used. The type of materials selected typically takes into account the demands of the environment. A small canal or golf lake can make use of lighter, shorter products, whereas oceanfront requires stronger, more deeply-driven sheets.
3.Set Up Your Drive Guide
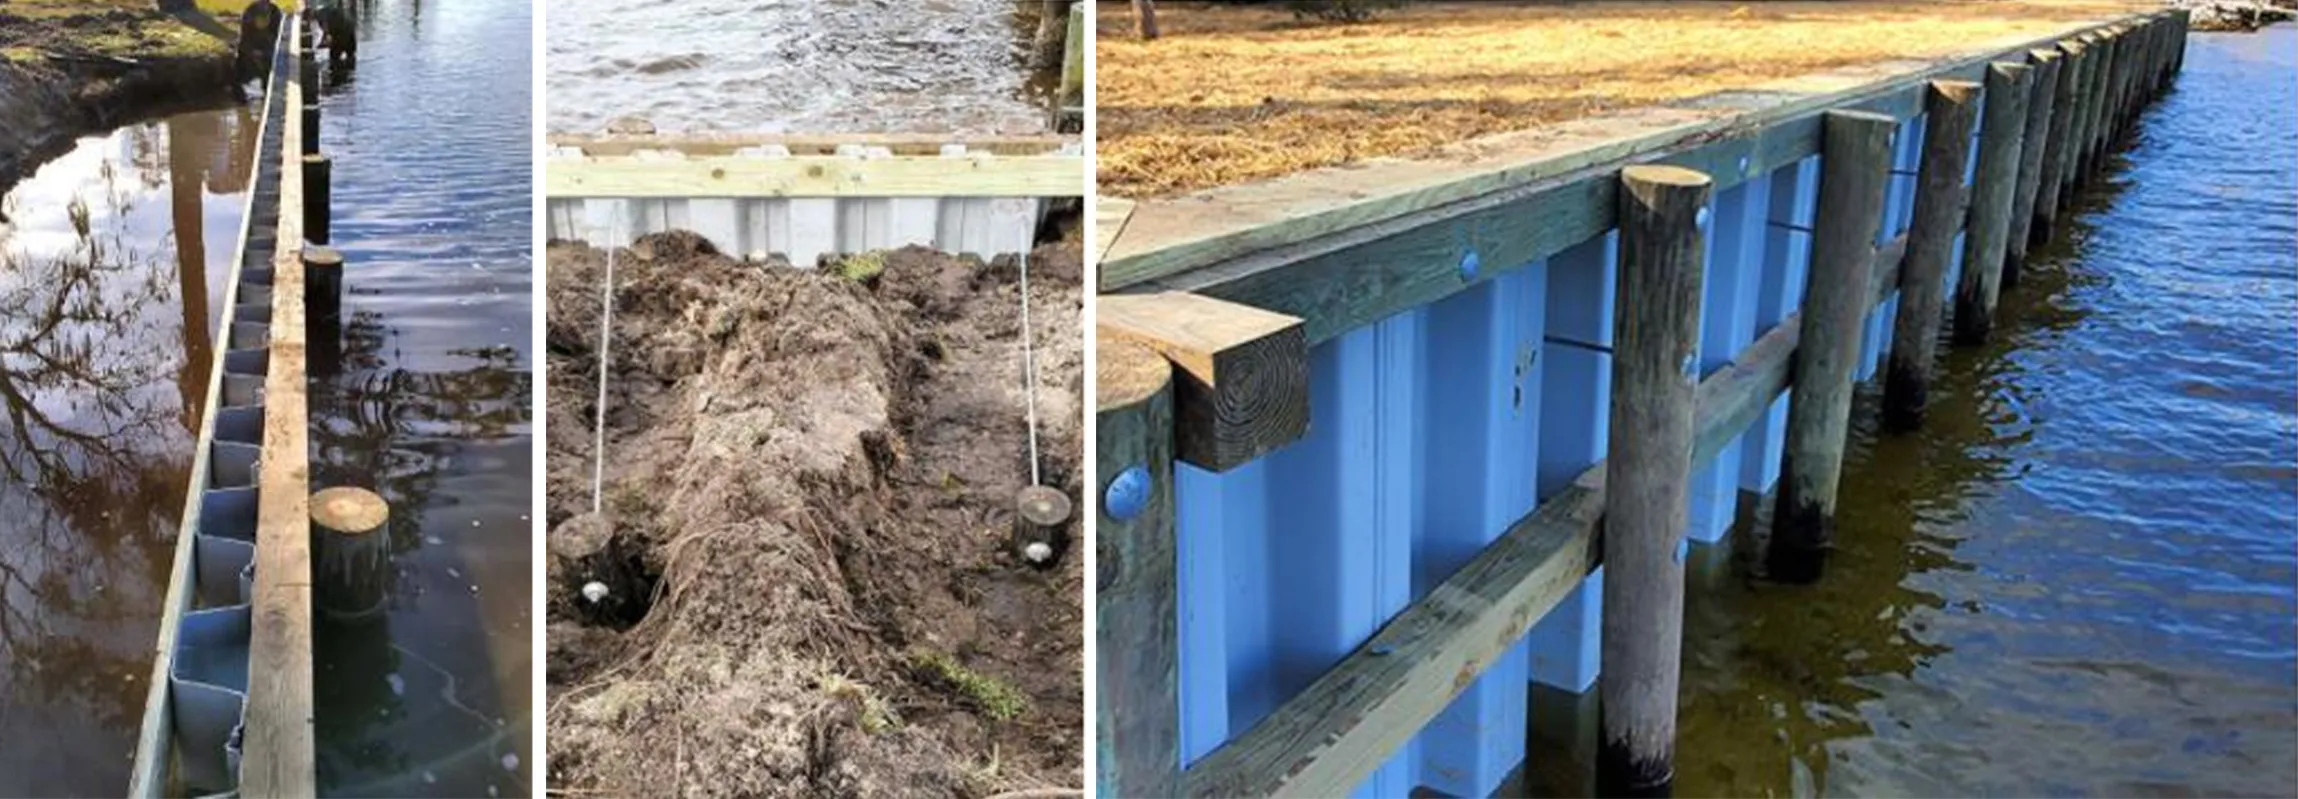
A drive guide is a horizontal typically wood structure to set up to help keep your sheets in alignment with each other during the sheet driving process. Assembling a drive guide before you begin installation of a seawall provides you with a precise wall position during installation. The drive guide is crucial to ensure a straight and firmly placed wall. Drive guides are essential; do not attempt to drive sheets along just a string line.
The first step to setting up your drive guide is to install temporary posts. Run a string line where the wall will stand for proper pole placement. We recommend using 4” x 4” posts. Again, please note that the string line is used for pole placement to set up a drive guide, NOT for the wall itself.
The drive guide should have an approximate size of four to six feet by six feet, and can become a piece of the permanent structure for a wood capped wall. Position your drive guide to the temporary posts by tack nailing it, screwing it or securing it with c clamps.
4.Drive Your Sheets
When using the Z panel sheets (as opposed to full box sheets), sheets are often “threaded,” or driven side by side in pairs. This speeds up install time and helps your sheets stay in alignment during the driving process. The name “Z panel” refers to the shape of the sheet’s profile.
Before driving, be sure each pair of sheets is lined up horizontally and vertically. It is critical that you get the first pair of sheets you install straight and plumb, so the rest of the wall can follow suit. If you encounter tough soils you do have the flexibility of going from one single sheet to the next.
We recommend starting with the male piece so that soil and debris can escape via the female. After reaching your desired embedment point, place a lag screw in the flange on your leading sheet of the pair.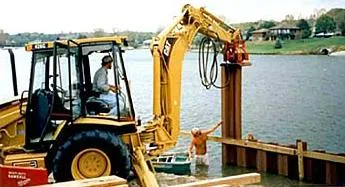
5.Secure Waler Boards
 |
 |